How to Set Up "Timeline Setting" - DHB Facebook Emulator
In this article, I’ll explain in detail how to use the "Timeline Setting" feature in DHB Facebook Emulator, as well as how to create a Timeline to run.
A Timeline in DHB Facebook Emulator can be understood as a sequence that performs actions and operations on your Facebook account in order. For example, after browsing the New Feed, it can automatically switch to adding friends, then share a post afterward.
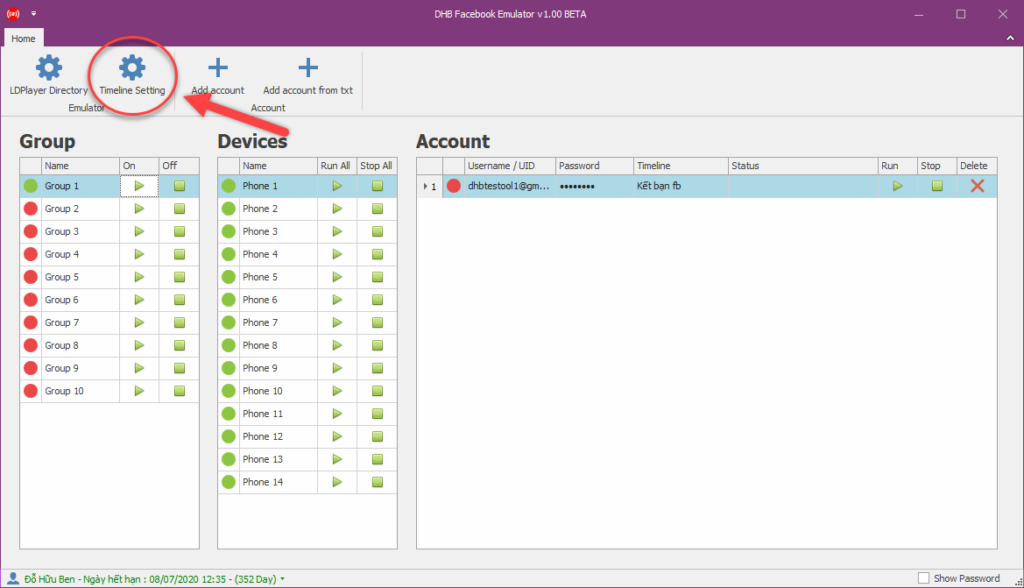
To create and edit a Timeline, click the "Timeline Setting" section as shown below.
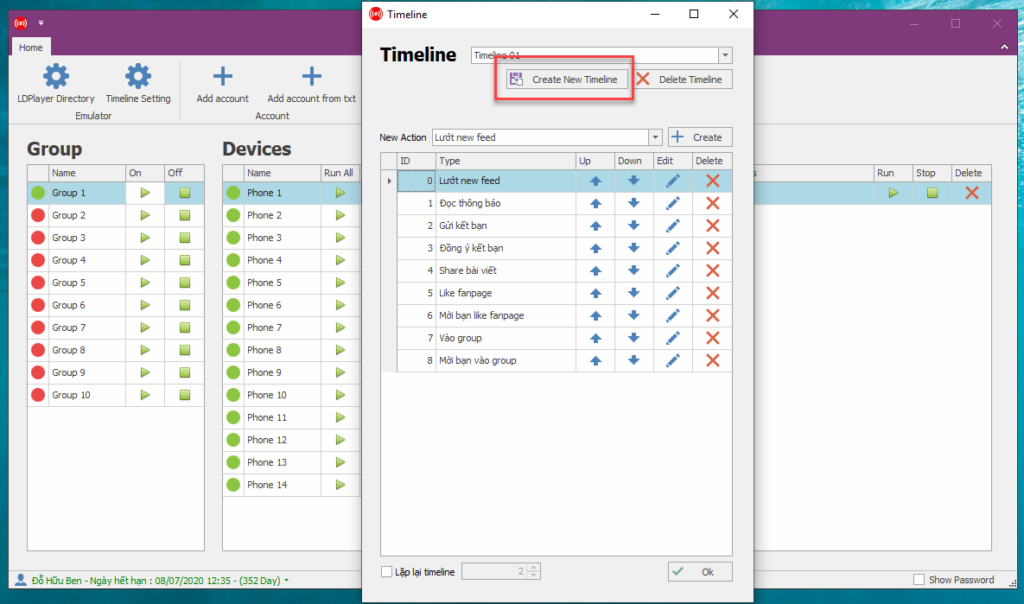
After opening "Timeline Setting", select "Create New Timeline" to create a new Timeline.
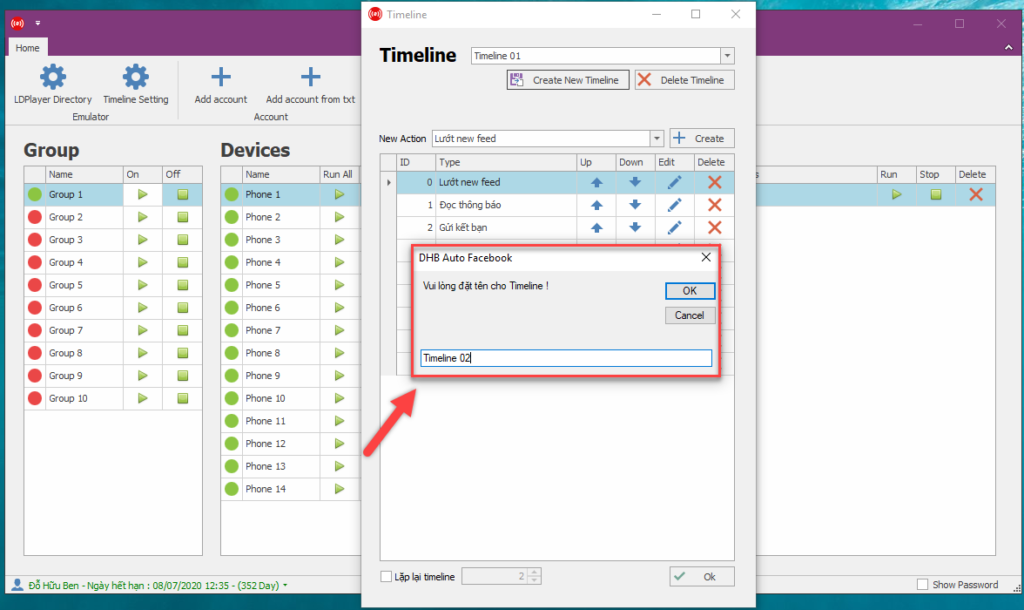
Next, give the Timeline a name so it is easy to identify!
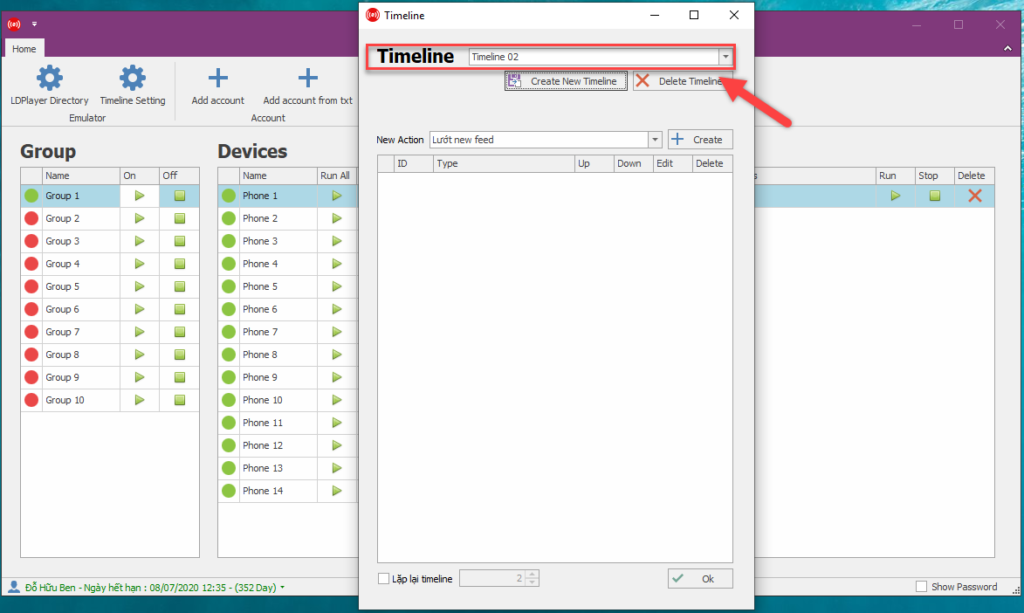
After you finish naming it, the tool will create a new empty Timeline with no actions.
To add actions to the Timeline, select an action in the "New Action" section and click Create to create a new action and add it to the Timeline.
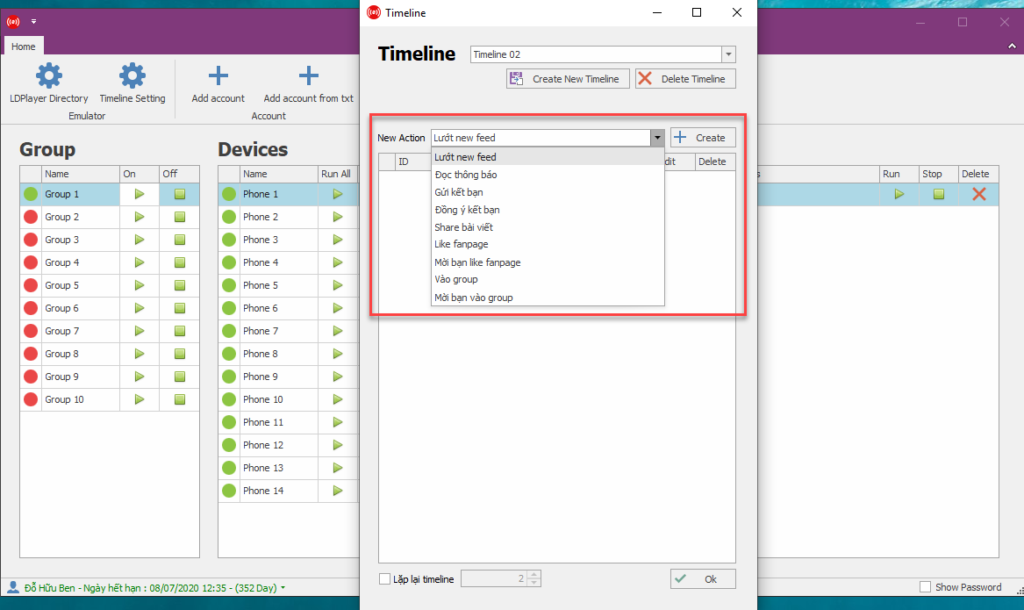
Here, I will choose the action for browsing the New Feed and click Create. The tool will display the action settings as shown below.
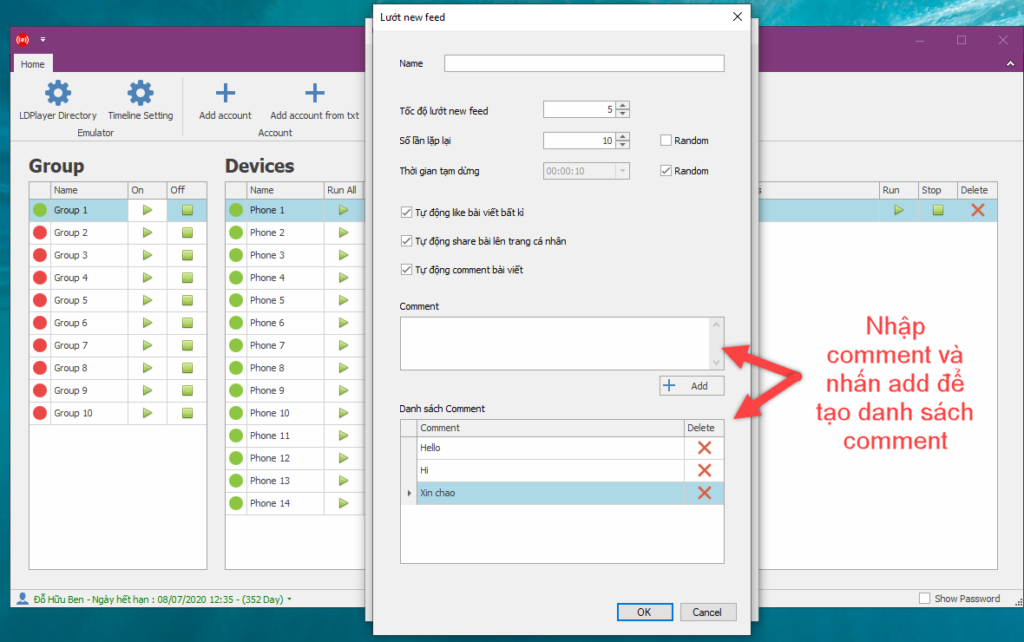
Configure the action as you like, then click Ok to add the action to the Timeline you just created.
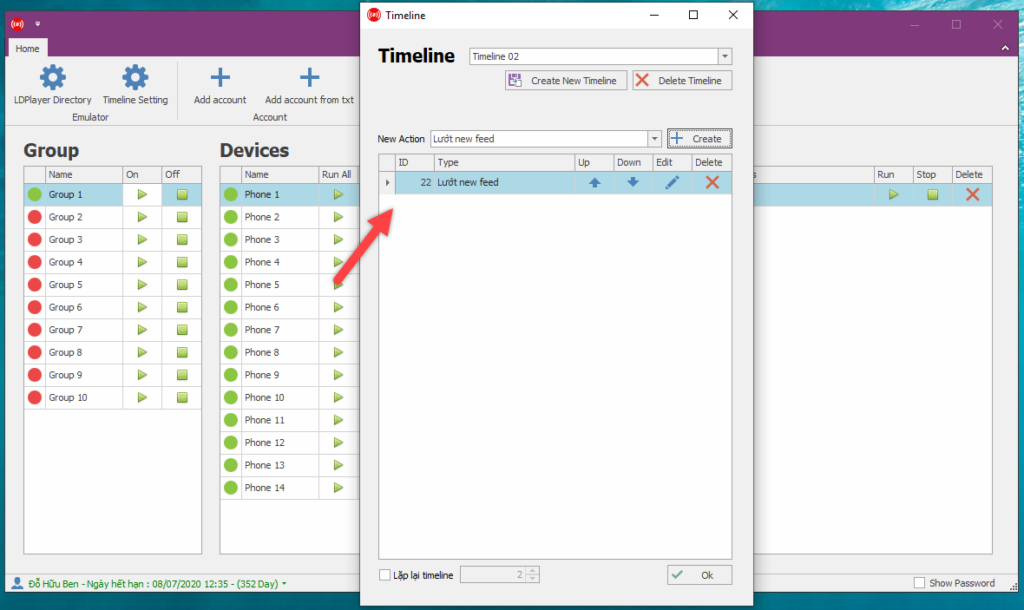
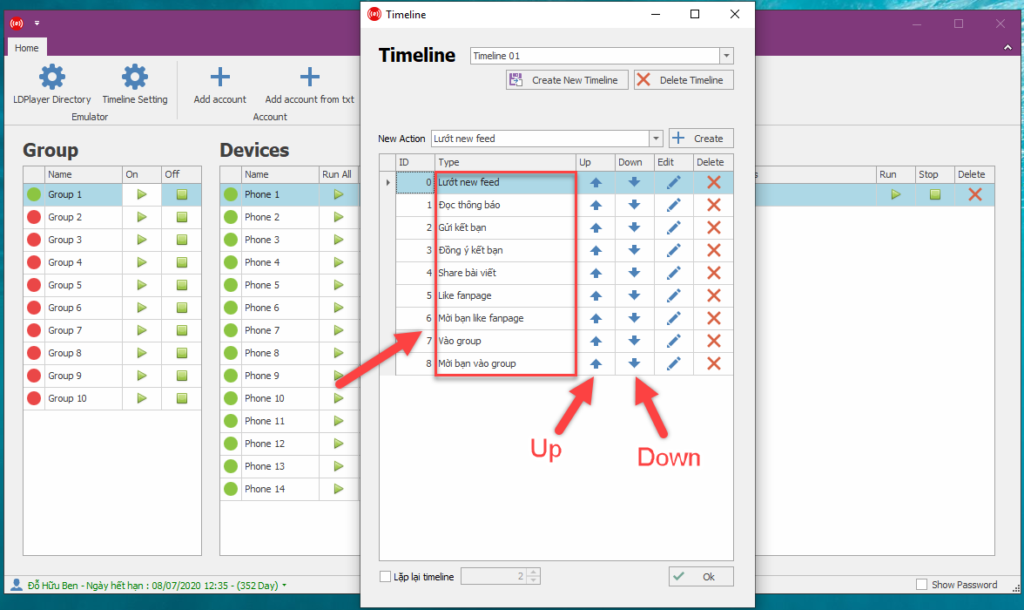
Similarly, I will create multiple actions for the tool to perform as shown below. In this example, the tool will browse the New Feed first, then switch to reading notifications. You can also use the arrow buttons next to the actions to move their order up or down, as well as the Edit or Delete buttons to modify or remove an action. After finishing your edits, click OK to save everything.
That’s it — I’ve shown you how to create a timeline so DHB Facebook Emulator can run according to it. The actions above are the ones currently available in the DHB Facebook Emulator tool. The tool will include more interesting actions in future updates....
If you have any questions, please contact us directly via our Fanpage:
https://www.facebook.com/dhbtools/
Wish you success!
This is the tutorial video for using the DHB Facebook Emulator tool.
Bình luận
Chưa có bình luận nào. Hãy là người đầu tiên!

Hướng dẫn sử dụng tính năng Tùy chọn tải lên
Để tối ưu hóa việc tải lên trong hệ thống mà không cần cài đặt quá nhiều bước, bạn có thể làm theo các bước dưới đây để cấu hình Tùy chọn tải lên một cách dễ dà
Read more →
Hướng dẫn chi tiết tính năng DHB Monitor trong phần mềm DHB Upload Facebook
Tính năng DHB Monitor giúp người dùng theo dõi kênh, trang mạng xã hội (TikTok, Facebook, YouTube…) và tự động đồng bộ và đăng nội dung. Đây là công cụ quan trọng để tiết kiệm thời gian,
Read more →
Cách đổi tài khoản Facebook sang tài khoản chuyên nghiệp và đặt lịch đăng Reels bằng DHB Upload Facebook
Nếu bạn đang xây dựng thương hiệu cá nhân, bán hàng online hoặc làm nội dung Reels, việc chuyển sang tài khoản Facebook chuyên nghiệp (Professional Mode) là bước quan trọng. Sau khi chuyển đổi, bạn c
Read more →
Hướng dẫn đăng Status kèm Link sản phẩm trên DHB Upload Facebook
Tính năng đăng Status kèm Link sản phẩm đặc biệt phù hợp với mô hình Affiliate Marketing (AFF), giúp bạn điều hướng traffic trực tiếp về link tiếp thị, gia tăng tỷ lệ click (CTR) và tối ưu doanh thu
Read more →